Choa Shows You How To Perfectly Mimic Her Hair From “Excuse Me”
During AOA‘s recent comeback, Choa was seen sporting a new unique style and released a tutorial showing how to achieve it.
Ever since AOA’s “Miniskirt” era, Choa has rocked a signature bobbed blonde hairstyle that framed her small face perfectly and became her trademark ‘do.
During AOA’s latest comeback, Choa was seen sporting a lob. Her hair was styled to fall just above her shoulders, but she also darkened it, added highlights, and trimmed layers into the ends that gave dimension to her whole look.
One of the most eye-catching features was the signature comma style, which has recently been making its way into girl group’s hairstyles.
Dispatch followed Choa through her routine as she demonstrated how to create her new signature style.
Choa walked through each step in detail, from listing what tools are needed to achieve the look to sharing what temperature the curling iron should be to create a perfect comma!
Choa also mentioned that she put extra curls into her hair, so the comma didn’t look out of place.
After finishing her hair, Choa even gave pointers on what makeup goes best with the unique style.
At the end of the tutorial, she encouraged fans to try out the style for themselves.
Here’s Choa’s step-by-step tutorial of the comma look so you can try it out too!
1. First, blow-dry your bangs to part them where you want, and then away from your face to create some volume.
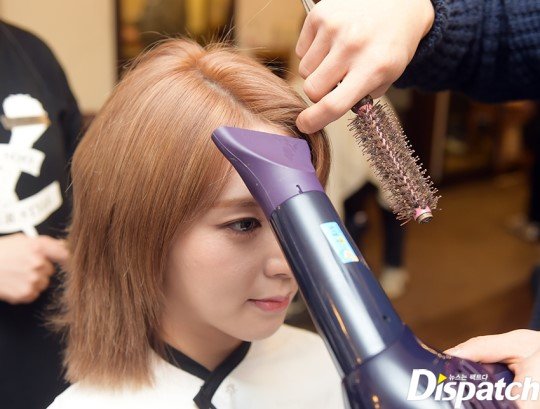
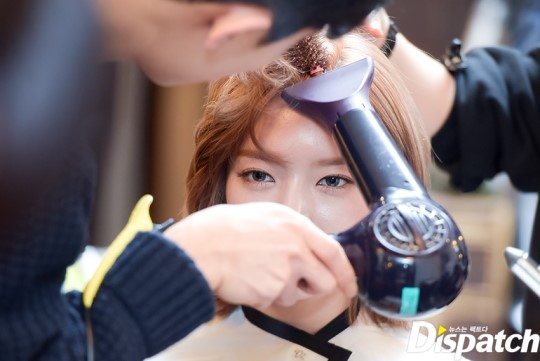
2. Then, roll your hair to the side with your styling brush and dry. This will give your bangs some volume, which is essential in achieving the comma look.
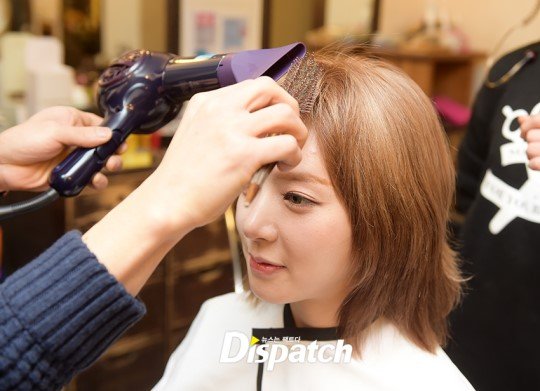
3. Next, part your bangs into two sections, and with your curler, wrap the first section of the bangs you want to make the comma with, and curl it in a ‘C’ shape, making sure to pull downwards.
Choa recommends heating your curler to 170 degrees celsius in order to maintain the curl. If the temperature is too low, your curls will loosen too quickly, while if it’s too hot, it can damage your hair.
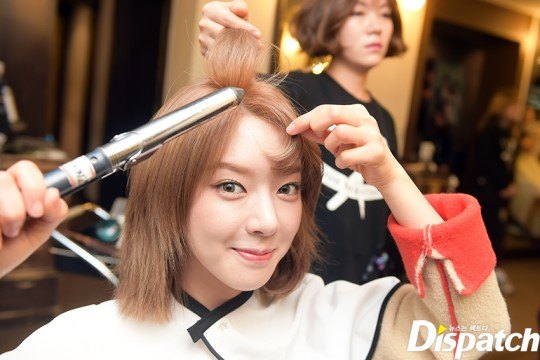
4. Once the curl has formed, hold it in shape with your index and thumb, and let it cool down so the curl stays.
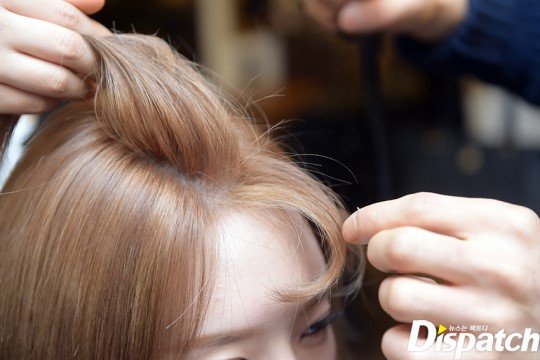
5. Repeat steps 3 and 4 with the other section of your bangs.
6. Curl the rest of the top layer of your hair, making sure the curler is facing away from your face to achieve a more naturally voluminous look.
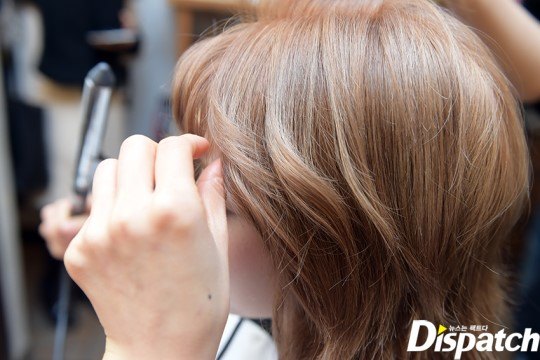
7. The bottom half of her hair is more wavy than curly, so she recommends using the curler by clipping the top section of hair into the curler and pulling the hair up, and then pulling down on the bottom section.
8. Finally, lock your curls in with some wax and hairspray, making sure you don’t use too much wax or pull your hair down while rubbing it in. This will undo all the volume you added in the beginning!
And here’s the finished look!
Source: Dispatch